Creating and using a MariaDB database for WebAgent Navigator on Amazon RDS
MariaDB is a popular open source relational database created by the original developers of MySQL. Amazon RDS (Relational Database Service) makes it easy to set up, operate, and scale MariaDB server deployments in the cloud. With Amazon RDS, you can deploy scalable MariaDB cloud databases in minutes with cost-efficient and resizable hardware capacity.
https://aws.amazon.com/rds/mariadb/
Realistically, using Amazon RDS for my setup isn’t necessary. My development and demonstration install of WebAgent and QueueMetrics is working just fine with a MySQL database on the Bitnami web server. However, I feel that it is a best practice, in any production environment, to have the database server separate from the web and application server(s), so I went ahead and made my development environment mimic a well built production environment. Not only that, this configuration makes it easy to up-scale (or even clone) my development/demonstration environment to a production/enterprise level should I need to.


Open the AWS Console, go to the Amazon RDS dashboard, and click “Create Database”.
Select the database engine (MariaDB) and click “Next”.
Choose use case (I selected “Dev/Test - MariaDB”), click “Next”.
Specify DB details.
I first checked the option “Only enable options eligible for RDS Free Usage Tier” then scrolled down to settings, gave my db instance a name and entered a master user name and password for this instance. Note that the default db instance class is “db.t2.micro“ which qualifies for the free tier and is quite suitable for my needs.Configure advanced settings - The only two things I changed here are “Public accessibility” - I selected “No” (DB instance will not have a public IP address assigned. No EC2 instance or devices outside of the VPC will be able to connect) because my intent is that the database will only be accessed from the WebAgent and QueueMetrics servers which are in the same VPC (Virtual Private Cloud). Also, under “Database options” I cleared the database name since I will be creating databases later.
Lastly, click the “Create Database” button and in a few minutes the RDS database server instance is up and running.
Using SSL/TLS with your database
If you’ll be using SSL/TLS with your database, which I will be, there are 2 Amazon articles you should check out:
Rotating Your SSL/TLS Certificate
If your application connects to an RDS DB instance using Secure Socket Layer (SSL) or Transport Layer Security (TLS), you must take the following steps before March 5, 2020. Doing this means you can avoid interruption of connectivity between your applications and your RDS DB instances.
Using SSL/TLS to Encrypt a Connection to a DB Instance
You can use Secure Socket Layer (SSL) or Transport Layer Security (TLS) from your application to encrypt a connection to a DB instance running MySQL, MariaDB, SQL Server, Oracle, or PostgreSQL. Each DB engine has its own process for implementing SSL/TLS
The database instance just created may have the old certificate attached to it. In the Amazon RDS console, under Databases, click on the database name and scroll to Connectivity & security and find Certificate authority. “rds-ca-2015” is the old certificate and should be updated to “rds-ca-2019”. The steps for doing that are outlined in the 1st article (Rotating Your SSL/TLS Certificate).
Then we need to download the certificate to use in our application. The 2nd article (Using SSL/TLS to Encrypt a Connection to a DB Instance) gives us that…
To get a root certificate that works for all AWS Regions, download from one of these locations:
This link will download “rds-combined-ca-bundle.pem”.
To install the certificate for WebAgent Navigator, I…
I uploaded “rds-combined-ca-bundle.pem” to “/opt/bitnami/apps/demo/etc/certs/” on the Bitnami web server instance.
I added 2 parameters to my database connection in the application:
PDO::MYSQL_ATTR_SSL_CA => '/opt/bitnami/apps/demo/etc/certs/rds-combined-ca-bundle.pem',
PDO::MYSQL_ATTR_SSL_VERIFY_SERVER_CERT => true
Adding the Amazon RDS instance to phpMyAdmin (with SSL/TLS)
Since I use phpMyAdmin quite a bit to manage my databases, I want to be able to access the RDS instance securely. Adding the instance is simple…
Remember, I have phpMyAdmin installed as an app on the Bitnami web server so that it can only be accessed from that server or through an ssh tunnel through that server. So all I have to do is:
Upload “rds-combined-ca-bundle.pem” to “/opt/bitnami/apps/phpmyadmin/conf/certs”.
Edit “config.inc.php” in “/opt/bitnami/apps/phpmyadmin/htdocs”.
At the end of the file, I added this:
$i++;
$cfg['Servers'][$i]['verbose'] = 'Amazon RDS';
$cfg['Servers'][$i]['host'] = 'development-database.c6c6ti9o6ubz.us-east-1.rds.amazonaws.com';
$cfg['Servers'][$i]['port'] = '3306';
$cfg['Servers'][$i]['socket'] = '';
$cfg['Servers'][$i]['connect_type'] = 'tcp';
$cfg['Servers'][$i]['extension'] = 'mysqli';
$cfg['Servers'][$i]['auth_type'] = 'cookie';
$cfg['Servers'][$i]['AllowNoPassword'] = false;
$cfg['Servers'][$i]['ssl'] = true;
$cfg['Servers'][$i]['ssl_ca'] = '/opt/bitnami/apps/phpmyadmin/conf/certs/rds-combined-ca-bundle.pem';
“development-database.c6c6ti9o6ubz.us-east-1.rds.amazonaws.com” is the endpoint name found in the Amazon RDS console (see image above).
This adds a second database server to phpMyAdmin. The first is the MySQL database on the web server (localhost).
Importing the databases
Since my databases already exist on the Bitnami web server, I need to export them from there and import them into the Amazon RDS database. I do this through phpMyAdmin.


I use my terminal script (WebAgent_ssh_tunnel.command) to open a ssh tunnel to the Bitnami web server.
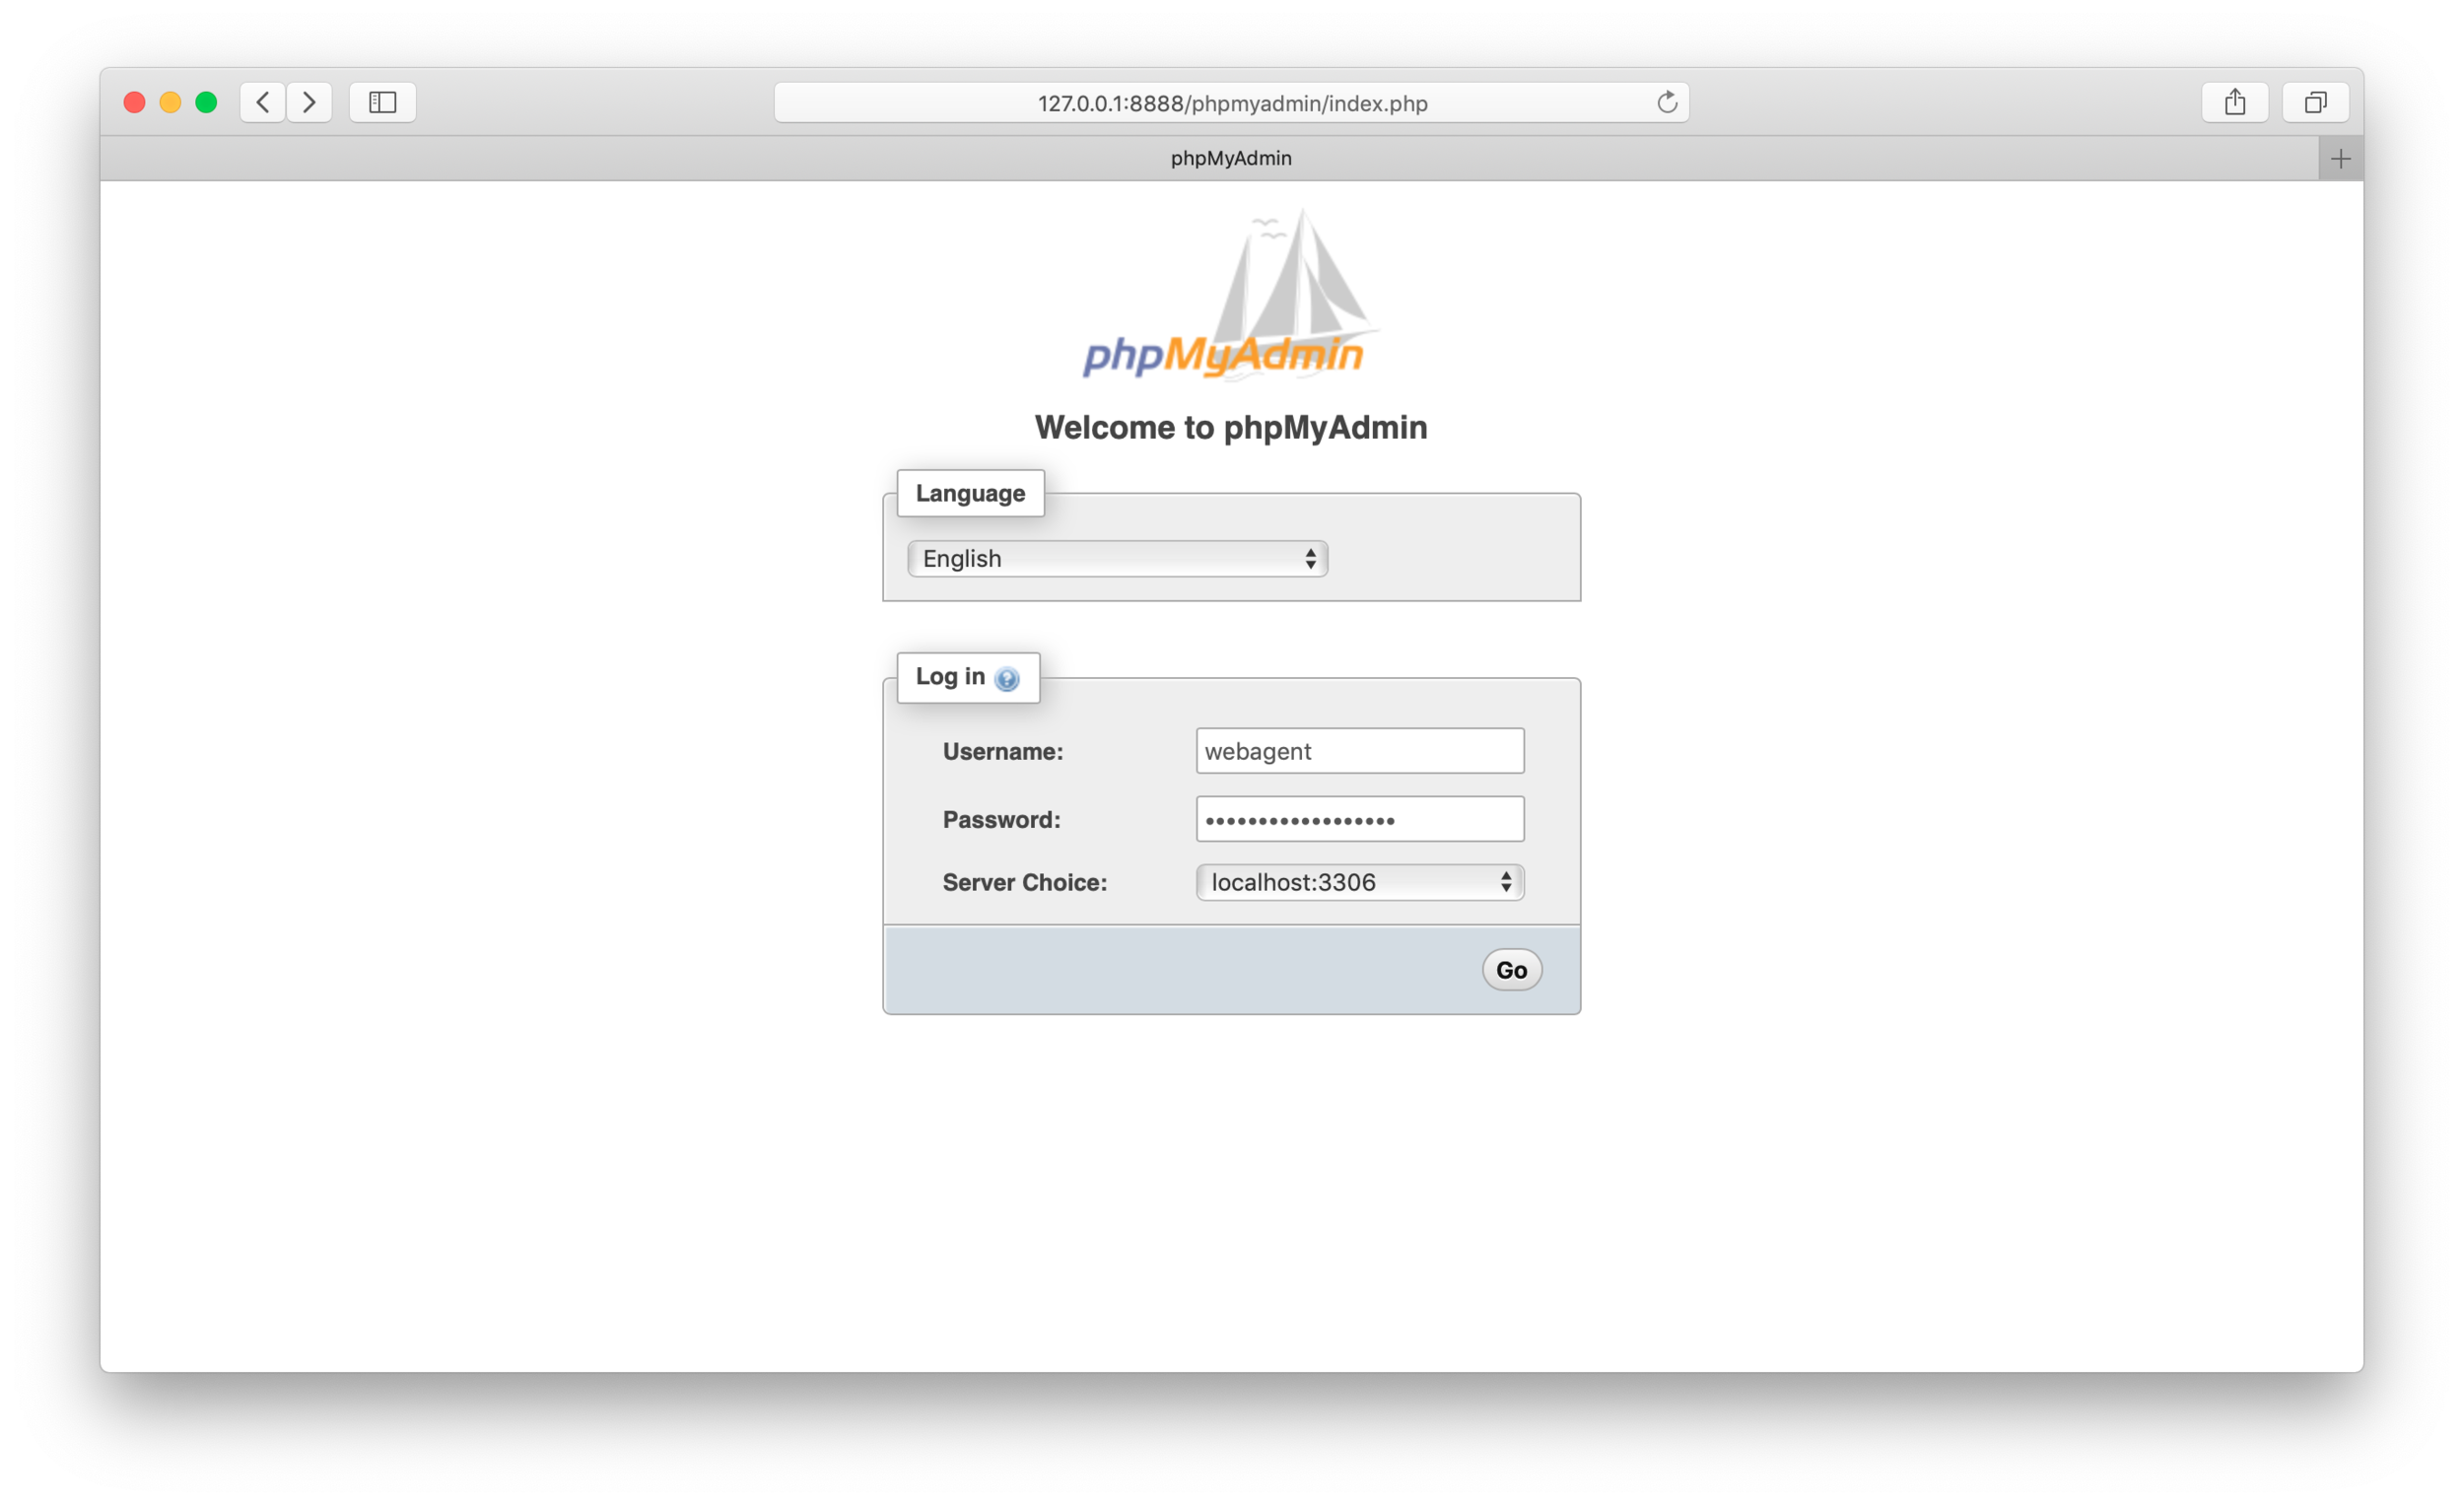
I open phpMyadmin in my browser at http://127.0.0.1:8888/phpmyadmin/index.php
I login to the localhost (the Bitnami web server).
I go to the “Export” tab, select…
Export Method - Custom
Format - SQL
Databases - the WebAgent databases
the remaining options as pre-selected are fine. This will export the database structures and data to a file downloaded to the local computer.Scroll to the end of the page and click the “Go” button.
A file named “localhost.sql” is downloaded. This file contains all of the SQL commands to create the databases and tables and load the records.I go to the top-left of the phpMyAdmin page and select my “Amazon RDS” instance, and log in again.
I go to the “Import” tab, select…
”Choose file” and pick the “localhost.sql” file downloaded in step 5.Scroll to the bottom of the page and click the “Go” button.
The file is imported, databases, tables, and records created.
The QueueMetrics database
Although not shown in the screenshots above, I exported and imported the QueueMetrics database to the Amazon RDS instance. Now I have to tell QueueMetrics where the database is. To do this, I again edit the “web.xml” file in the “/usr/local/queuemetrics/webapps/queuemetrics-19.10.3-17/WEB-INF” directory on my QueueMetrics EC2 instance. This is the tag I’m looking for…
<web-app>
...
<servlet>
...
<init-param>
<param-name>JDBC_URL</param-name>
<param-value>jdbc:mariadb://ec2-x-xxx-xx-xxx.compute-1.amazonaws.com/queuemetrics?user=queuemetrics&password=<password>&sessionVariables=sql_mode=''&autoReconnect=true</param-value>
</init-param>
and I change the <param-value> tag to:
<param-value>jdbc:mariadb://development-database.c6c6ti9o6ubz.us-east-1.rds.amazonaws.com?user=<masteruser>&password=<masterpass>&sessionVariables=sql_mode=''&autoReconnect=true</param-value>
Using the endpoint name found above and the master user name and password I used when creating the database server.
You can easily add a specific QueueMetrics user to the database server through phpMyAdmin and use that user & password here instead of the master.


The last thing I wanted to do is delete the original databases. Log in to phpMyAdmin, localhost again, select the “Databases” tab, select the databases to be deleted and click the “With selected: Drop” link.
That’s it. I now have my databases hosted on an Amazon RDS instance that can only be accessed in my Virtual Private Cloud (first layer of security) and using SSL/TLS from the WebAgent application and phpMyAdmin utility (second layer of security).